


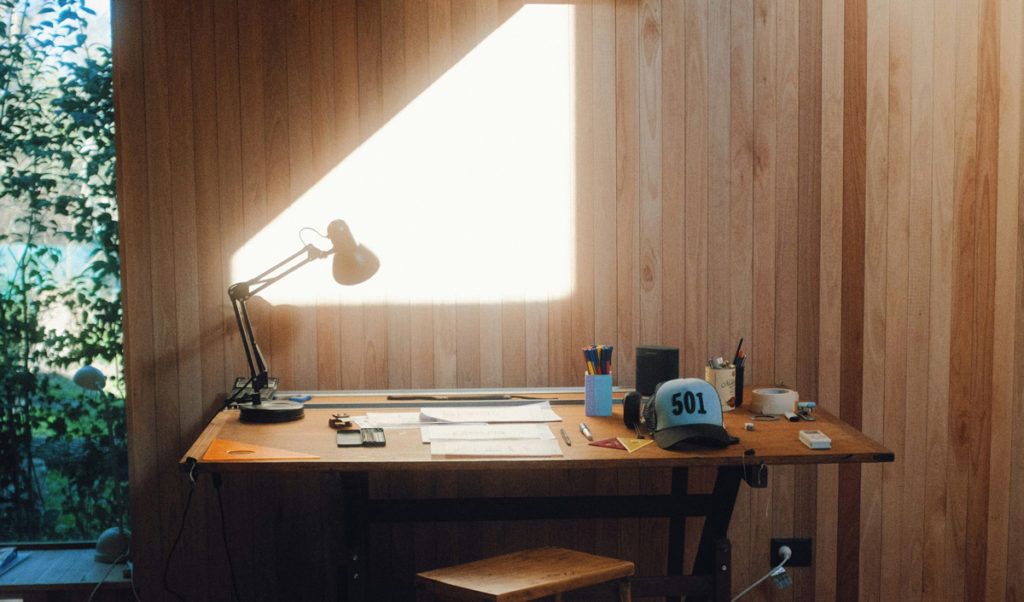
Remote work has changed how we use our homes, making dedicated office spaces essential. Spending more time in these spaces means creating a professional yet comfortable environment. DIY wood wall cladding is a great way to achieve this transformation. Wood adds elegance and warmth, creating an appealing backdrop that boosts productivity and well-being. Here’s a guide with tips and design ideas to help you upgrade your home office with wood wall cladding.
Why Choose Wood Wall Cladding?
Wood wall cladding offers many benefits:
1. Aesthetic Appeal: Wood has a timeless, natural look that fits various styles, from rustic to modern.
2. Acoustic Benefits: Wood absorbs sound, reducing noise and making a quieter workspace.
3. Durability: Properly treated wood is durable and can handle daily wear and tear.
4. Versatility: Wood cladding comes in many finishes, patterns and textures to match your chosen style and needs.
Getting Started: Preparation and Planning
Before starting your DIY project, careful planning is vital.
1. Evaluate Your Space: Decide which wall(s) you want to clad. Consider the room’s layout, existing decor, and how the cladding will fit with your furniture and equipment.
2. Select the Type of Wood: Choose wood that matches your office decor. Options include log lap cladding for a rustic feel, shiplap for a coastal vibe, or sleek panels for a modern look.
3. Measure and Calculate: Measure your wall’s dimensions to calculate the wood needed. Add 10% to your calculations to cover cutting and waste.
4. Gather Tools and Materials: You’ll need wood panels or planks, a saw, a level, nails or screws, adhesive, a measuring tape, and safety gear.

Design Ideas for Wood Wall Cladding
Log Lap Cladding for Rustic Elegance
Look: Create a cosy, cabin-like feel with log lap cladding. The rounded boards offer a natural, rustic charm.
Application: Install horizontally for a classic log cabin look, or mix with vertical sections for a unique design.
Tip: Staining the wood in warm, earthy tones enhances the natural grain and creates a welcoming atmosphere.
Shiplap for a Clean, Coastal Vibe
Look: Shiplap boards, often painted white or left natural, give a clean and airy feel.
Application: Install horizontally for a classic look or vertically to make the room feel taller.
Tip: Use contrasting colours on adjacent walls to add interest without overwhelming the space.
Modern Minimalism with Sleek Panels
Look: Choose smooth, wide wooden panels in a single colour for a modern, minimalist style.
Application: Align panels seamlessly for a sleek, uncluttered look.
Tip: Pick lighter wood tones like birch or maple to keep the room bright and spacious.
Textured Wood for Depth and Interest
Look: Add texture with wood in varying widths, depths, or finishes for a dynamic surface.
Application: Combine different types of wood or stains to create a standout feature wall.
Tip: Balance textured walls with simple furniture to avoid a cluttered look.
Step-by-Step Installation Guide
1. Prepare the Wall:
– Clean the wall, making sure it’s dry and free of protruding nails or screws. Remove any wallpaper or old paint.
2. Cut and Sand the Wood:
– Measure and cut the wood planks or panels to size. Be sure to sand any rough areas around the edges.
3. Create a Layout:
– Lay out the wood on the floor to plan the arrangement. This step is important for log lap cladding with its distinct profile.
4. Attach the Wood:
– Start at the bottom of the wall. Apply adhesive to the back of each panel and press it firmly against the wall. Use a level to ensure each plank is straight.
– Secure the wood with nails or screws. A nail gun can make this step quicker.
5. Finish the Edges:
– Trim excess wood around the edges with a saw. Fill gaps or nail holes with wood filler, then sand the filler smooth once it’s dry.
6. Seal and Protect:
– Sealant can be applied to guard the wood from moisture and wear. This step is crucial for home offices in humid areas or prone to spills.
Styling Your Cladded Office
Once your wood wall cladding is complete, it’s time to style your office:
1. Furniture: Choose furniture that complements the wood tones. Darker woods pair well with lighter furniture for contrast, while similar tones create a cohesive look.
2. Lighting: Use a mix of ambient and task lighting to highlight the wood’s natural beauty. Consider wall-mounted sconces or desk lamps with warm bulbs.
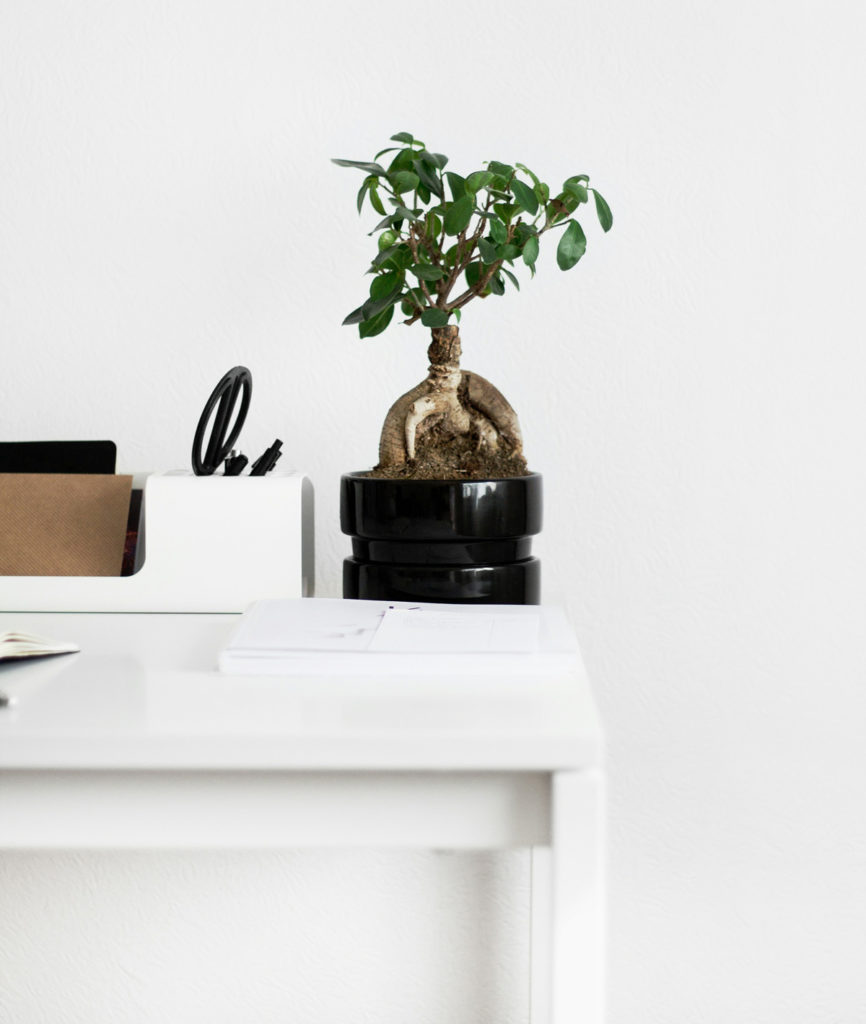
3. Decor: Add personal touches like framed artwork, plants, and organizational tools that blend with the wooden backdrop.
4. Ergonomics: Ensure your workspace is ergonomic. Invest in a high-quality chair, desk, and accessories that promote comfort and productivity.
Maintenance Tips
To keep your wood wall cladding looking its best:
1. Dust Regularly: Use a clean cloth or vacuum to remove dust and debris.
2. Avoid Excess Moisture: Wood can warp or mould if exposed to too much moisture. Use a dehumidifier if needed.
3. Touch-Up Scratches: Keep wood filler and stain on hand for quick touch-ups to any scratches or dents.
Transforming your home office with DIY wood wall cladding is a rewarding project that enhances looks and function. By choosing suitable high-quality materials and planning carefully, you can achieve a beautiful, inspiring space for work. Happy cladding!