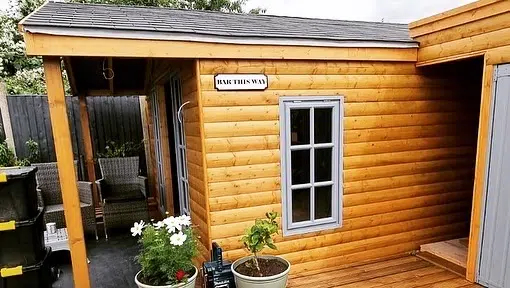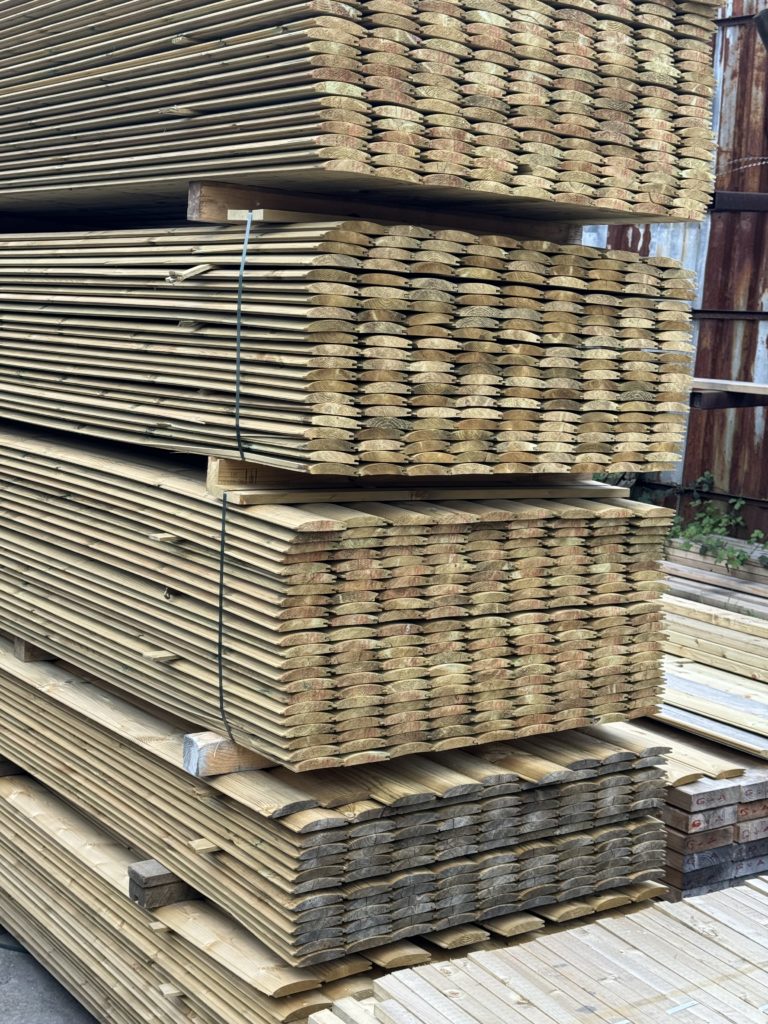
Rustic home design is all about creating a cosy, warm, and inviting atmosphere. One way to achieve this look is by using log lap wall cladding. This method not only brings nature’s beauty indoors but adds texture and character to any space. This article explores how you can use log lap wall cladding to create a stunning rustic look in your home.
What is Log Lap Wall Cladding?
Wooden boards overlapping, creating a seamless and natural look. Log lap can be made from various types of wood, each offering different textures and colours. The overlapping design helps to shed water, making it a popular choice for exterior walls.
Why Choose Log Lap Wall Cladding?
There are several benefits that make it a top choice for creating a rustic look:
1. Natural Aesthetic
Wood has a timeless appeal that brings warmth and charm to any room.
2. Durability
Properly treated wood cladding can last many years, even in harsh weather conditions.
3. Insulation
Wood provides good insulation, helping regulate your home’s temperature.
4. Versatility
Log lap cladding can be used in various spaces, from living rooms to bathrooms.
Preparing for Installation
Before you start installing, there are a few steps to prepare:
Measure the Area: Measure the walls where you plan to install the cladding to determine how much material you need.
Prepare the Surface: Ensure the wall surface is clean, dry, and free of any obstructions.
Gather Tools and Materials: A saw, hammer, nails or screws, a level, and safety gear.

Installing Log Lap Wall Cladding
Here’s a step-by-step guide:
1. Start at the Bottom: Begin installation at the bottom of the wall and work your way up. This helps to ensure each board overlaps correctly.
2. Secure the First Board: Place the first board at the bottom of the wall, ensuring it is level. Secure it in place with nails or screws.
3. Continue with Subsequent Boards: Place the next board above the first, slightly overlapping it. Secure it in place and repeat this process until you reach the top of the wall.
4. Cut to Fit: You may need to cut the boards to fit around windows, doors, and corners. Use a saw to make precise cuts.
5. Seal and Protect: Once all the boards are in place, apply a sealant to protect the wood from moisture and wear.
Finishing Touches
After the installation is complete, add some final touches to enhance the rustic look:
– Staining: Apply a wood stain to enhance the natural colour of the wood. Choose a shade that complements your décor.
– Painting: If you prefer a different look, paint the cladding. Consider earthy tones like brown, green, or grey for a rustic feel.
– Decorative Elements: To complete the look, add rustic elements like vintage signs, wrought iron fixtures, or natural textiles.
Maintenance Tips
To keep your cladding looking its best, follow these maintenance tips:
– Regular Cleaning: Dust the cladding regularly and clean it with a damp cloth.
– Inspect for Damage: Periodically check for any damage, such as cracks or warping, and repair as needed.
– Reapply Sealant: Over time, the sealant may wear off. Reapply it every few years to protect the wood.
Examples of Rustic Spaces with Log Lap Wall Cladding
Here are a few ideas on how to use it different areas of your home:
Living Room
Create a feature wall with log lap cladding behind your sofa or TV. Add a stone fireplace and wooden furniture for a cosy, cabin-like feel.
Bedroom
Use log lap cladding on the wall behind your bed. Pair it with soft, neutral bedding and rustic décor items like lanterns and woven baskets.
Bathroom
Add log lap cladding to one wall in your bathroom for a spa-like atmosphere. Combine it with natural stone tiles and greenery for a fresh look.
Kitchen
Installing it on your kitchen walls adds warmth and texture. Mix it with open shelving and farmhouse-style cabinetry for a charming, rustic kitchen.
Summary: Log Lap Wall Cladding
Log lap wall cladding is an excellent way to take some of the rustic charm of the outdoors inside. Its natural beauty, durability, insulation properties and versatility make it a great choice for creating cosy and inviting spaces. You can transform any room into a rustic retreat by choosing the right wood, preparing correctly, and following the installation steps. With a little maintenance, your log lap cladding will continue to enhance your home’s aesthetic well into the future. Embrace the rustic look and enjoy the warmth and character that log lap wall cladding brings to your space.


