Panelling a ceiling is a great way to add style, texture, and character to a room. Whether you want to cover up imperfections, add warmth with wood, or create a modern look.
However, before you start panelling your ceiling, there are several important things you should know. This guide will help you understand the key considerations, materials, tools, and steps involved, ensuring your project is successful.
So let’s dive right in!
1. Understand the Types of Ceiling Panels
There are various types to choose from, and each comes with its own set of advantages and disadvantages. The most common choices include:
Wood Panels:
These include pine, cedar or oak and can add warmth and a classic rustic look to your room, depending on the style you are going for you may want to paint, stain or go natural in the finish. High quality wood panels may be one of the more expensive options, but the other side of this coin is that they can create a stunning aesthetic.
Gypsum or Plasterboard Panels:
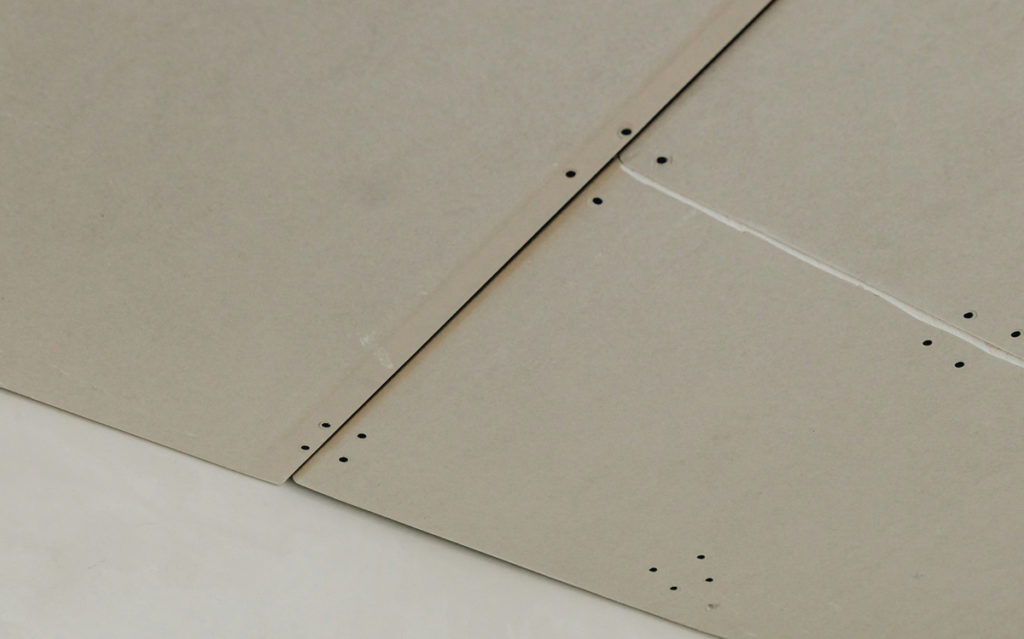
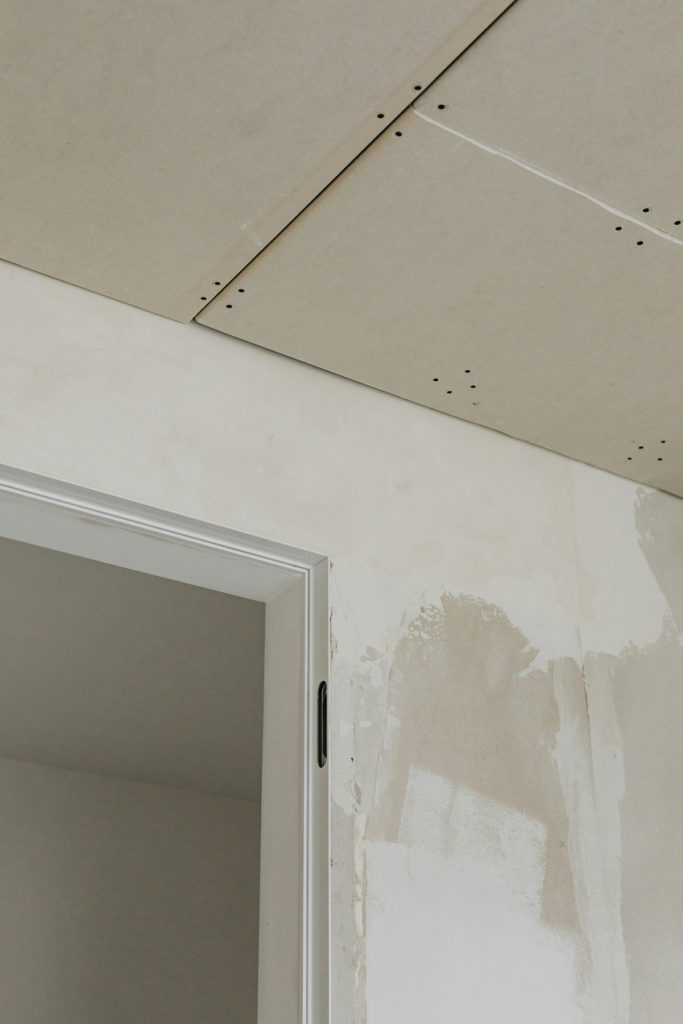
Commonly used for creating smooth and even ceilings. They can be painted in any colour and are relatively easy to install. However, they are heavy and may require extra support during installation.
Metal Panels:
Metal panels, such as tin or aluminium add a unique industrial look to a room. They are durable and fire-resistant, but they can be more challenging to install due to their weight and need for precision cuts, which will require the correct tools to do the job correctly.
Acoustic Panels:
These are designed to reduce noise levels in a room and are often used in offices, home theatres, or music studios. Acoustic panels can be made from various materials, including foam or fabric, and they come in a variety of styles and colours. Shop our range of acoustic panelling.

2. Measure Your Ceiling Accurately
Accurate measurements are crucial when panelling a ceiling. So, take the time to measure the length and width of the room, and consider any architectural features such as beams, light fixtures, or vents. Remember, measure twice, cut once.
Another thing to remember is that thick panels on a low ceiling will make your room feel smaller. Higher ceilings will happily accommodate more substantial options without feeling cramped.
3. Prepare the Ceiling and Room
Before installation, the ceiling surface must be clean, dry, and in good condition. Remove any old fixtures, fill in cracks or holes with a suitable filler, and sand the surface to ensure it is smooth and level. Preparation is vital because an uneven ceiling can lead to poorly fitted panels and a poor looking finish.
Remember, clear the room and cover with protective sheets to prevent dust and debris from getting on your belongings. You should also ensure that you have proper ventilation, especially if you are working with materials like wood or plaster that can generate dust.
4. Gather the Necessary Tools and Materials
Having the right tools and materials on hand will make the installation process smoother and more efficient. Common tools and materials needed for ceiling panelling include:
– Measuring tape and level
– Saw (for cutting panels to size)
– Hammer or nail gun
– Adhesive (if required for your type of panel)
– Screws, nails, or other fasteners
– Safety gear, such as goggles and a dust mask
– Ladder or scaffolding for reaching the ceiling safely
Make sure you have all these tools and materials ready before you begin the installation to avoid unnecessary interruptions.
5. Plan the Installation Process
The installation process for ceiling panels varies depending on the type of panel and the method you choose. Some panels are designed to be nailed or screwed directly into ceiling joists, while others may require a grid system or adhesive.
Here are a few key points to consider:
Find the Joists:
Most ceiling panels need to be attached to ceiling joists for stability. Use a stud finder to locate the joists and mark their positions.
Start from the Center or a Corner:
Depending on the room’s layout, it’s usually best to start from the centre of the room or from one corner. This allows you to work evenly and make adjustments as needed.
Cut Panels to Size:
Measure twice, cut once, accounting for any obstacles like lights or vents. Precision is key to ensuring a neat, professional look.
Secure Panels Properly:
Ensure each panel is securely fastened to prevent sagging or falling. This is especially important for heavier materials like wood or metal.
6. Be Aware of Safety Considerations
Working on a ceiling can be physically demanding and potentially dangerous if safety precautions are not taken. Here are some safety tips to keep in mind:
– Always use a sturdy ladder or scaffolding to reach the ceiling. Never stand on chairs or unstable surfaces.
– Wear safety goggles to protect your eyes from dust and debris.
– If you’re cutting panels or working with adhesives, use a dust mask or respirator to avoid inhaling harmful particles or fumes.
– Have a helper available if possible, especially when lifting and securing large panels.
7. Plan for Finishing Touches
After the panels are installed, you’ll need to add the finishing touches. This might include filling in gaps with caulk or filler, painting or staining the panels, and reinstalling any ceiling fixtures like lights or fans. Take your time to do it right.
Panelling a ceiling can be a great project to transform the look of your room. By making sure you have the right tools and the correct safety gear, you can achieve a beautiful look and a professional finish. Plan your project carefully, and the results can be both satisfying and rewarding.


