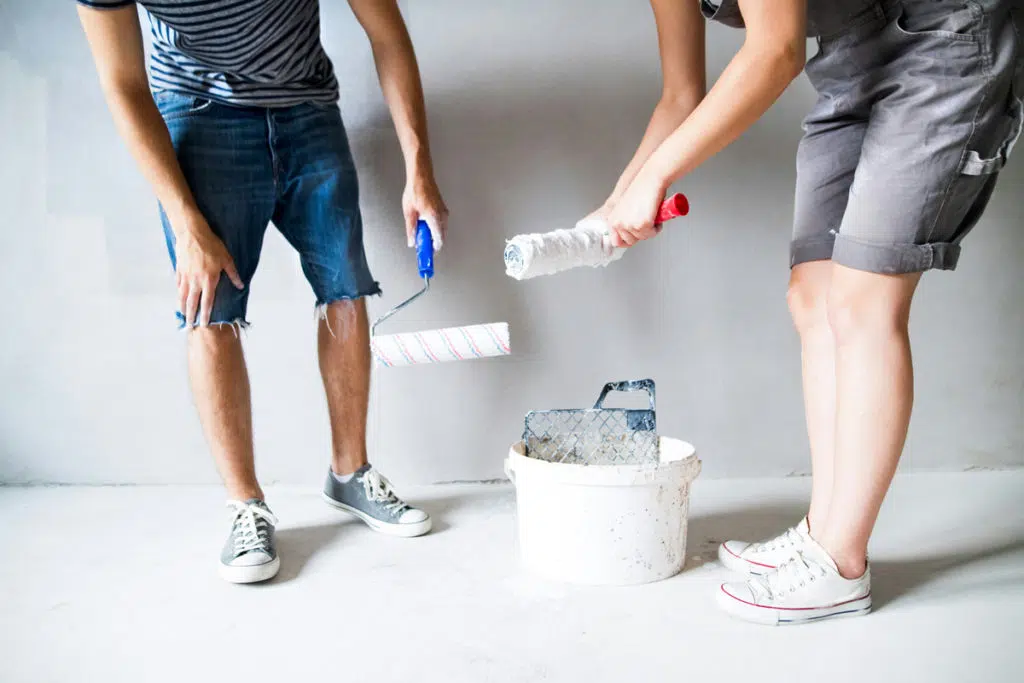
Painting a panelled wall can dramatically transform the look of a room, adding depth and texture. Whether you’re dealing with timber panelling or modern MDF panels, the steps remain largely the same. Here are some tips to ensure your panelled walls look professionally painted, even if you’re a DIY novice.
1. Gather Your Supplies
Here’s what you’ll need:
– Paint (primer and topcoat in your chosen colour)
– Masking tape
– Rollers (including a smaller roller for narrow panels)
– Angled paintbrushes (for detailed work)
– Drop cloths or plastic sheeting
– Sandpaper (medium and fine grit)
– Spackle or wood filler (if needed)
– A damp cloth or tack cloth
– A paint tray and stir sticks
N.B. Having everything ready will save you time and prevent unnecessary trips to the hardware store.
2. Prepare the Room
Preparation is key. Start by clearing the area around the wall you intend to paint. Move furniture away, and cover the floors with cloths or plastic sheeting to protect against spills and splatters. Use masking tape around the edges of the wall, including door frames, window sills, and baseboards.
3. Clean and Sand the Panels
Panelled walls, especially older ones, tend to get dusty and grimy over time. Start by thoroughly cleaning the wall using a mild soap and water solution. For grease or tough stains, a mix of water and vinegar can be effective. Then wait for the wall to completely dry.
Next, sand the panels lightly to create a smooth surface for the primer and paint. If your wall has grooves or is heavily textured, make sure to sand these areas as well. Use medium-grit sandpaper for initial sanding, and then switch to fine-grit to achieve a smoother finish. Once sanding is complete, wipe down the wall with a damp cloth to remove dust/debris.
4. Repair Any Imperfections
Inspect the panelled wall for any dents, holes, or cracks. Use spackle or wood filler to repair these imperfections. Follow the directions given on the product. Once dry, sand the repaired areas to blend seamlessly with the rest of the wall.
5. Apply Primer
Primer is essential when painting panelled walls, especially if the panelling is dark or heavily varnished. It helps to seal the surface, prevents stains from showing, and allows the paint to adhere better. Use a high quality primer designed for wood or MDF, depending on your panel type.
Start by using an angled/edging brush to apply primer into the grooves and edges of the panels. Then, use a roller to apply the primer to the flat surfaces. Make sure everything is covered evenly and allow the primer to dry. In some cases, you might need a second coat of primer if the panels are particularly dark or heavily stained.
6. Choose the Right Paint
Choosing the right type of paint is crucial for a long-lasting and beautiful finish. For panelled walls, a satin or semi-gloss finish is often the best choice. These are durable, easy to clean, and enhance the texture of the panelling.
Make sure to select a high-quality paint designed for wood or panelling. Cheap paints may require multiple coats and still not provide the desired finish, ultimately costing you more time and money.
7. Paint the Panels
Start by painting the grooves and edges of the panels with an angled brush. This ensures you cover the more intricate parts of the panelling. Once the grooves and edges are painted, use a roller to paint the flat parts. Work in small sections, maintaining a wet edge to prevent visible lines and streaks.
If you’re using a brush and roller combination, always follow the direction of the panels to create a uniform look. Depending on the colour and type of paint, you may need to apply two or three coats. Make sure each coat is dry before applying the next one. This prevents smudging, peeling and uneven finishes.

8. Inspect and Touch Up
Inspect the walls for any missed or uneven areas. If you find any imperfections, use a small brush for touch-ups. Ensure all painter’s tape is removed carefully to avoid pulling up any fresh paint. If you notice any paint bleeding under the tape, use a small, fine-tipped brush to correct it.
9. Final Touches and Clean Up
When you are satisfied with the painted panels, remove all drop cloths and protective sheeting. Then carefully move furniture back into place.
Always clean your brushes, rollers, and any other tools immediately to prolong their lifespan. Stand back and admire your hard work — a freshly painted panelled wall can make a room feel brand new!
Additional Tips for Painting a Panelled Wall
– Good natural lighting helps you see where you’re painting and spot any drips or uneven coverage.
– Ventilation! Ensure the room is well-ventilated to help the paint dry faster and reduce fumes.
– Don’t Rush: Allow each coat of paint to dry thoroughly before adding another. This patience will pay off with a more polished finish.
Painting a panelled wall may seem daunting, but with preparation and a little patience, you can achieve stunning results. Following these steps will help you create a beautifully painted panelled wall that adds charm and character to the room. So roll up your sleeves and get ready to transform your space!


